Installing RTE Historical CA certificate
Outlook 2013 uses the same certificate store as Internet Explorer.
Install the certificate of RTE Historical CA in Internet Explorer by following the
procedure.
Installing RTE Root CA certificate
Outlook 2013 uses the same certificate store as Internet Explorer.
Install the certificate of RTE Root CA in Internet Explorer by following the
procedure.
Installing RTE Client CA certificate
Outlook 2013 uses the same certificate store as Internet Explorer.
Install the certificate of RTE Client CA in Internet Explorer by following the
procedure.
Installing your personal certificate
Outlook 2013 uses the same certificate store as Internet Explorer.
Install your personal certificate in Internet Explorer by following the
procedure.
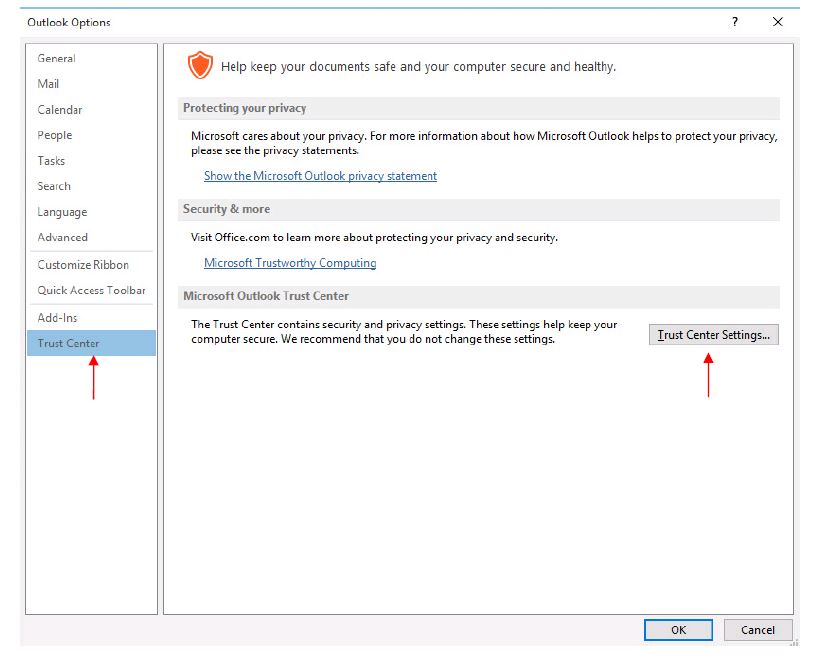
Email account configuration
Start Outlook 2013 and click the menu "
File > Options > Trust Center"
then click "
Trust Center Settings…".
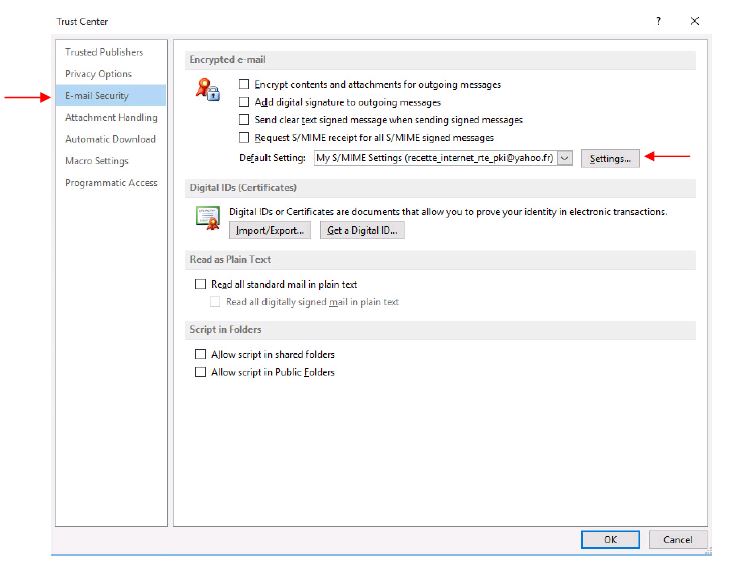
In the left column, click "
E-mail security", then click the "
Settings…" button.
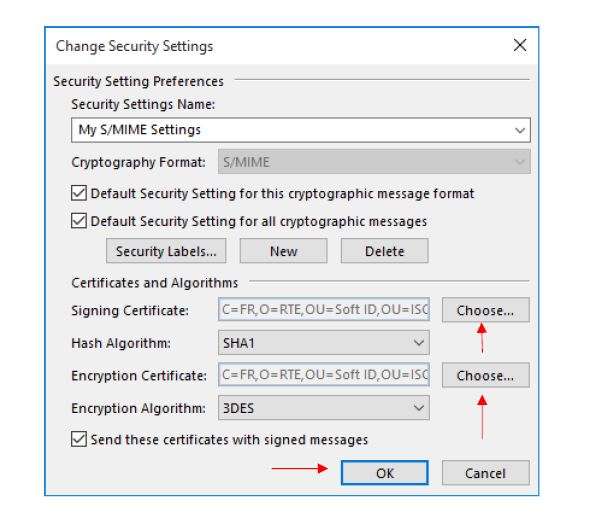
Click the two
"Choose…" buttons in order to select your personal certificate for signing and encryption. A list of selectable certificates is presented to you (you can also display a certificate from the list to view its contents and make sure you choose the right one).
Make sure the settings are similar to the ones above (S/MIME, check boxes, certificates, algorithms); if the field "
Security Settings Name" is empty, enter a label such as "
RTE Certification". Finally click "
OK".
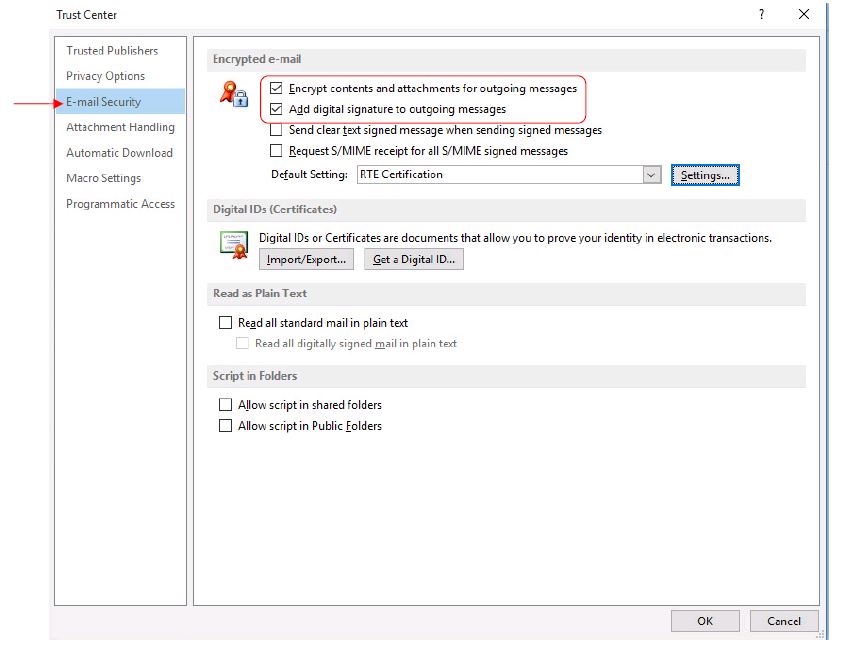
Check the boxes "
Encrypt contents and attachments for outgoing messages" and "
Add digital signature to outgoing messages", then click "
OK".
All your emails sent to RTE applications using the default account will now be encrypted and signed.
Installing RTE’s application certificate
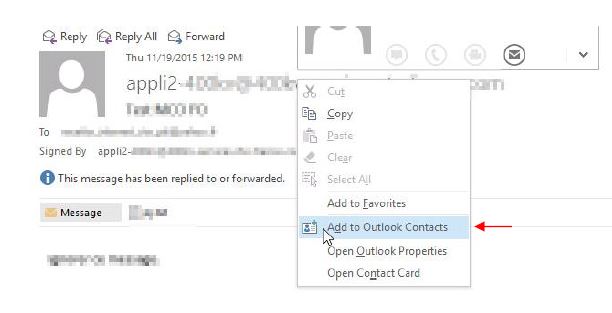
After receiving the first encrypted and signed message from an application, you must install the certificate of the issuing application. For this, you need to add the email address of the application to your address book by clicking the sender of the email received with the right mouse button and then "
Add to Outlook contacts":
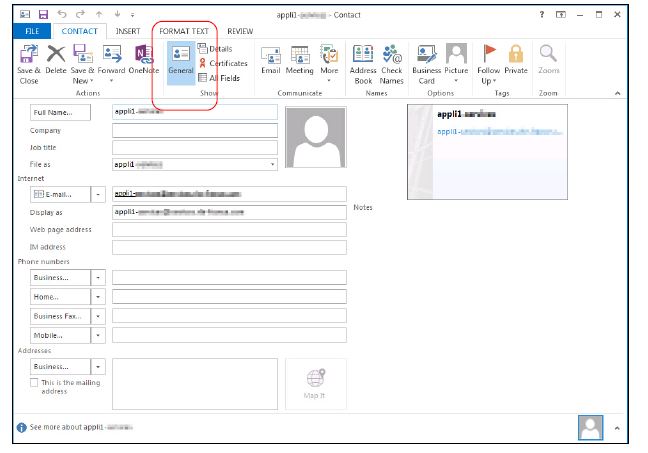
Click "
General":
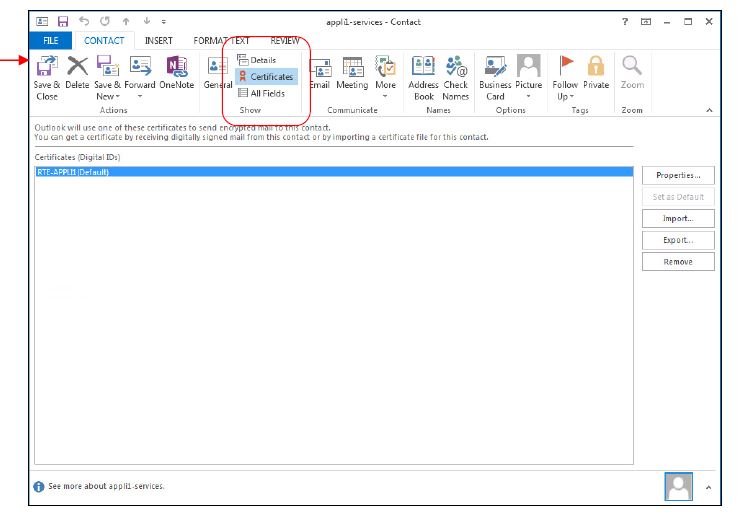
Click "
Certificate":
Click "
Save & Close" to save.
All your encrypted emails sent to this application will be encrypted automatically with the application’s certificate.
Using the certificate: sending a signed-encrypted email
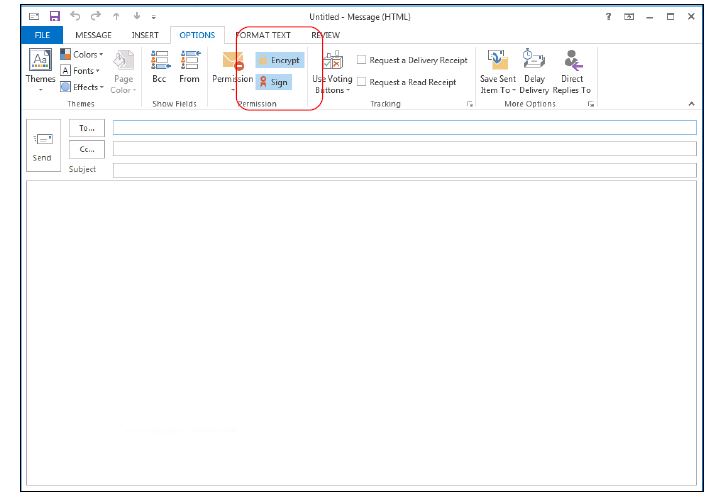
To encrypt and sign a message: first create a new message by clicking "
New".
To sign and encrypt your message, verify that both icons below are activated or click on them to activate.